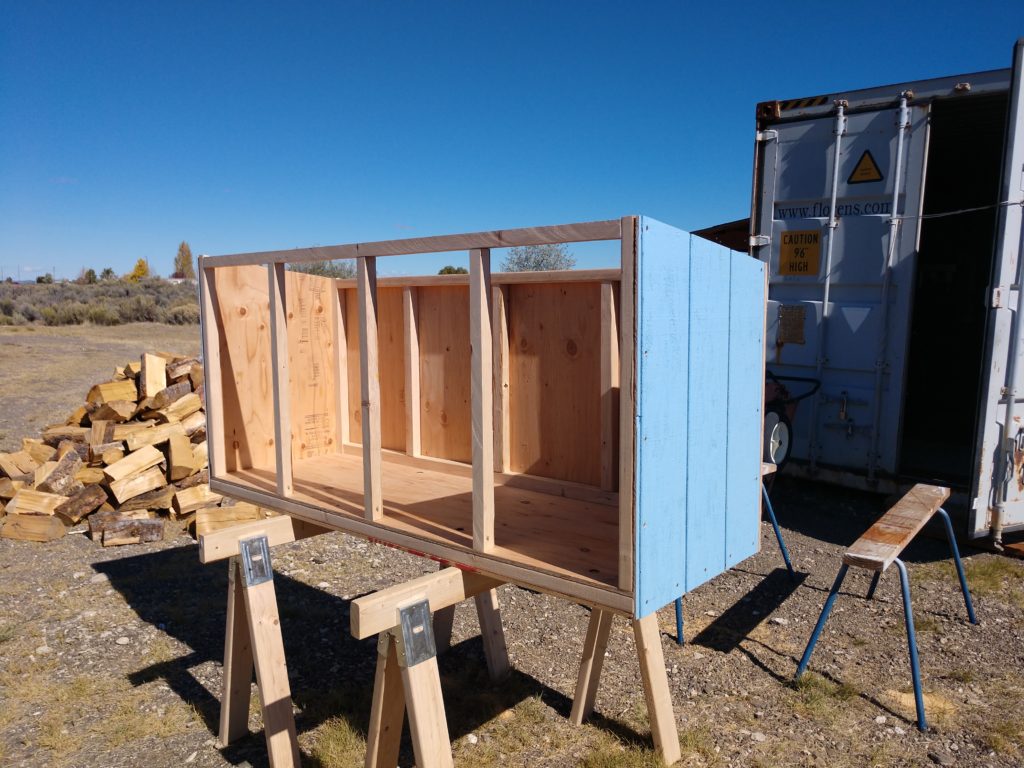
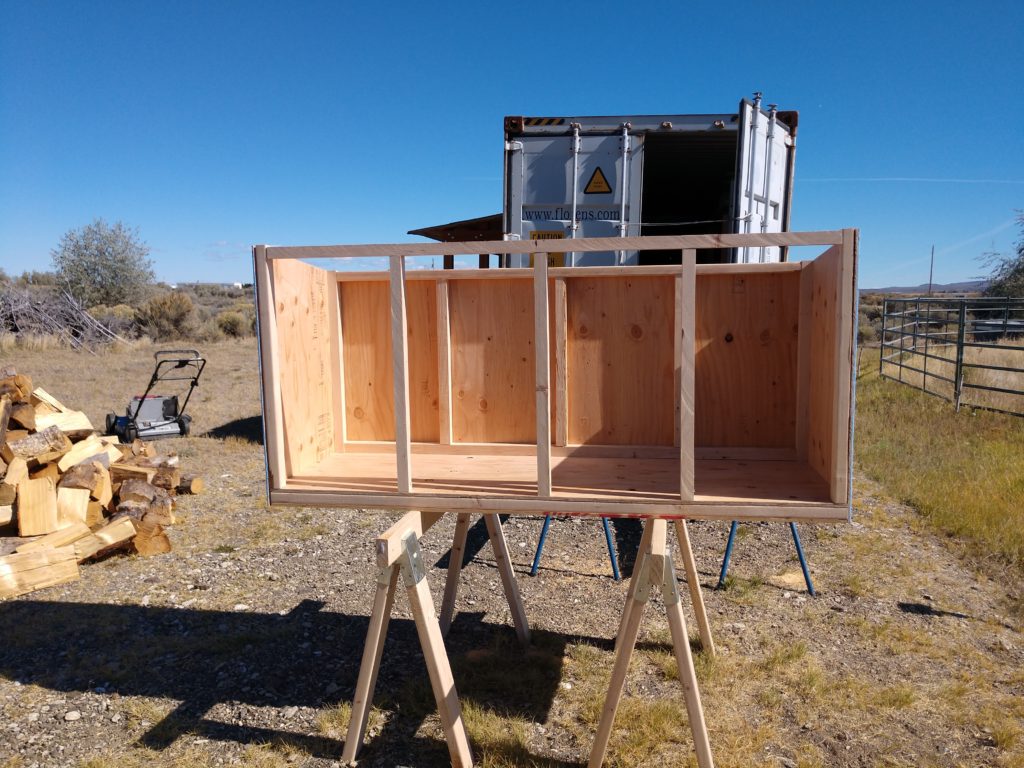
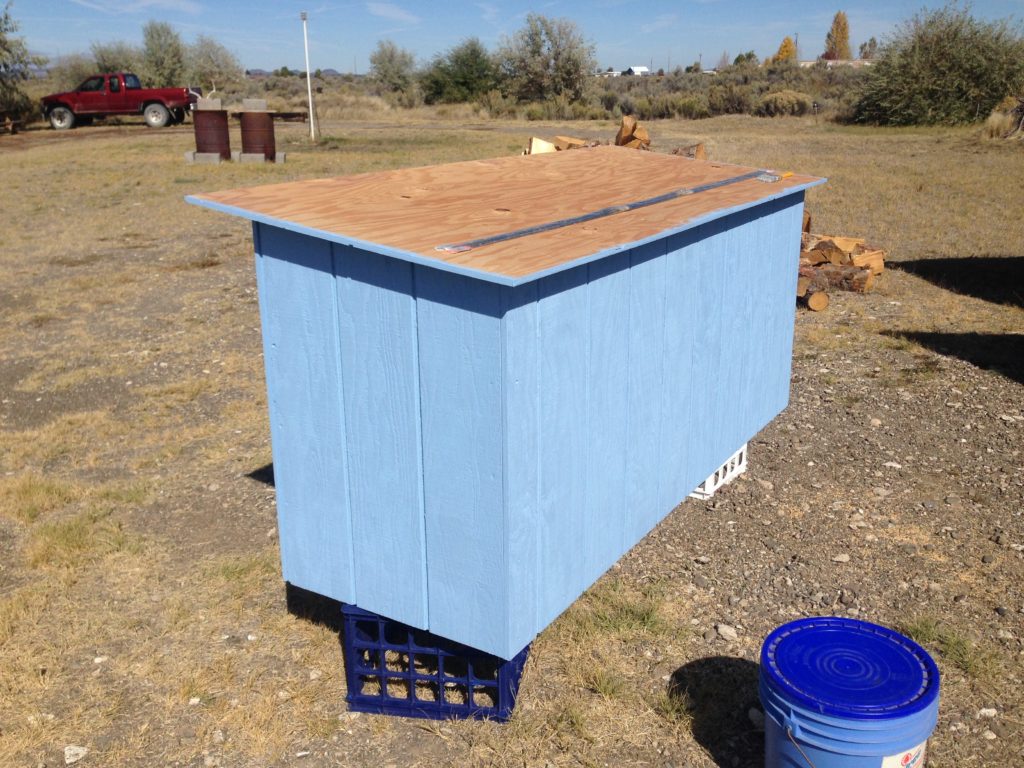
Thought I’d post a few pictures of the winter shelter I put together for the outdoor cats. Wanted them to have a place that is safe and warm to sleep. Worked out pretty good, well at least they seem to like it and it keeps them warm even in the negative temperatures.
Construction pictures of such. The shelter is not 100% completed yet and not in it’s final resting place either. Temporarily takes up most of the front porch but makes it easy to service this winter. Waiting for better weather to complete the project so I don’t freeze my bippy off.
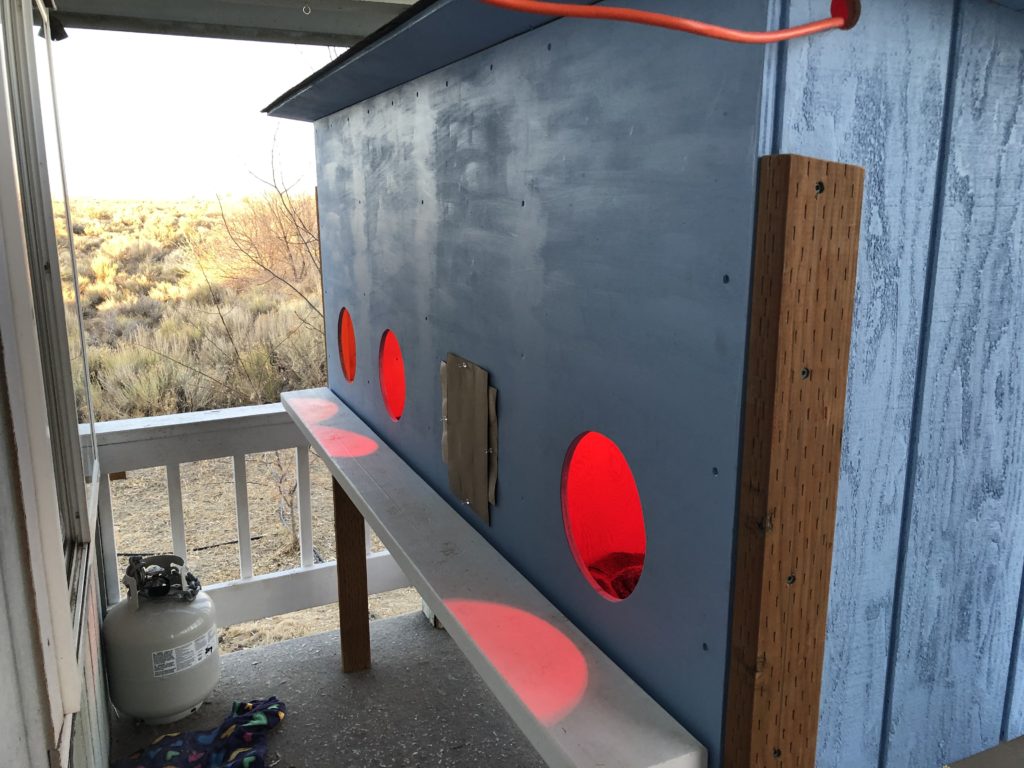
Spring 2020 Update: Working on the shelter this summer to have it in its final resting place by winter 2020. I have to change the front legs and put in a couple of supports for the back side of the shelter which will be a couple of wooden posts on cement pier blocks. For Spring I had to change out the 250 Watt heat lamps for 125 Watt lamps because the 250’s were too hot for the warmer temperatures. Only needed to use the 125 Watt lamps for part of Spring but the Summer nights have been warm enough to not use them at all. Will post completed picks when that happens.
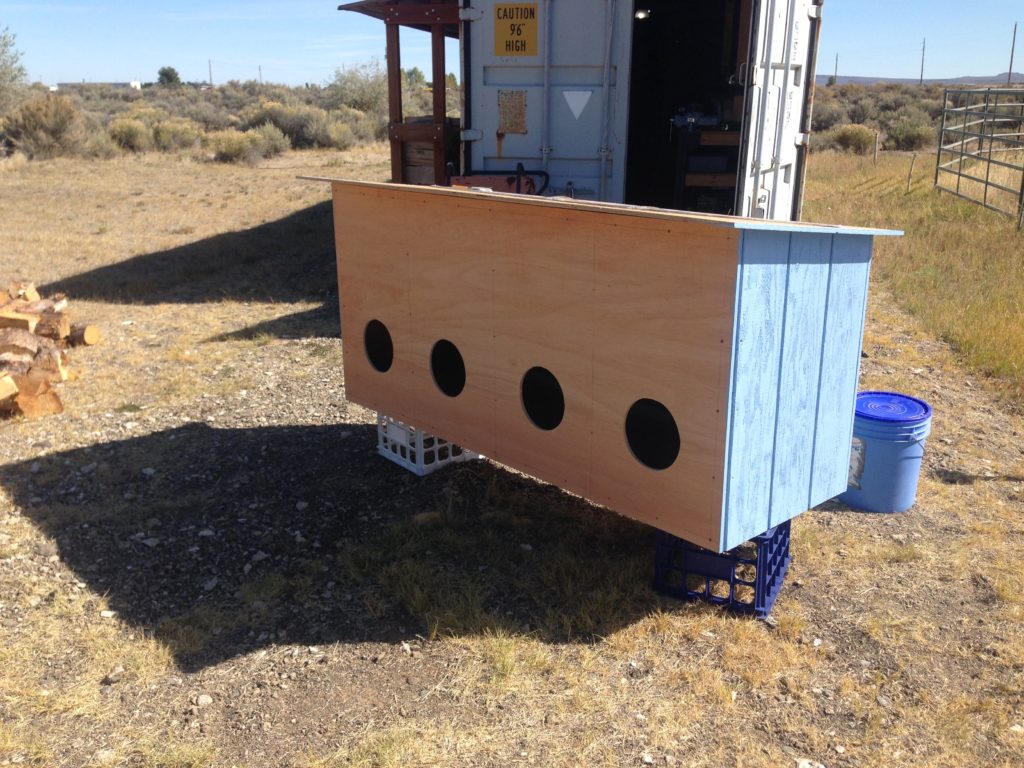
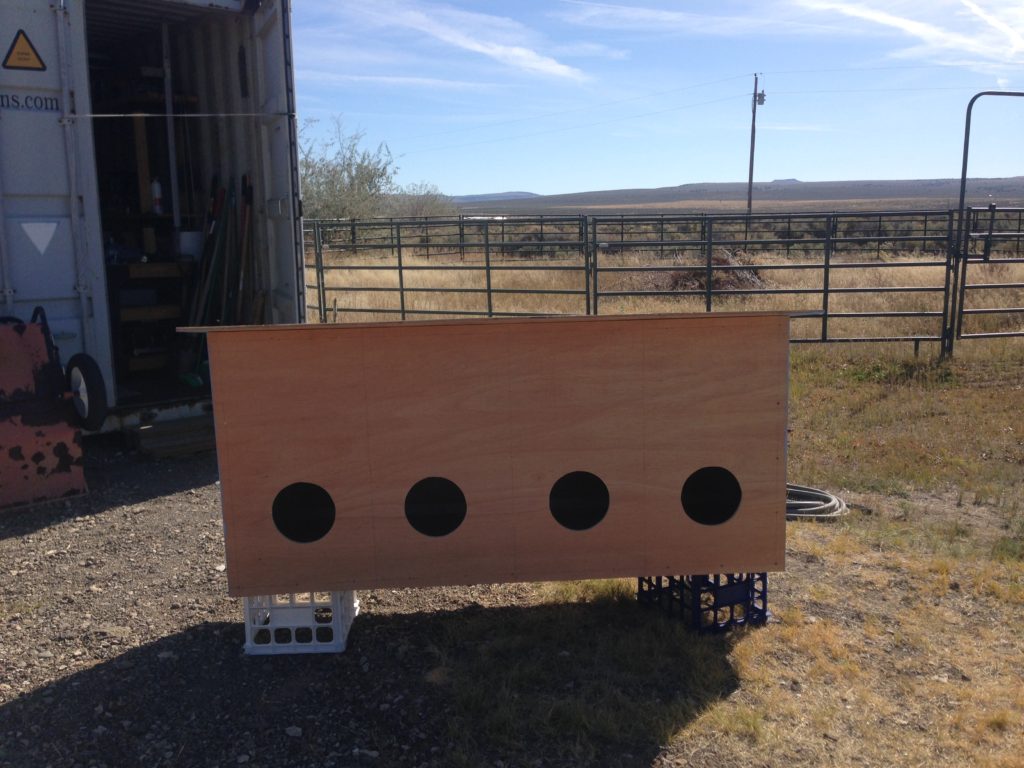
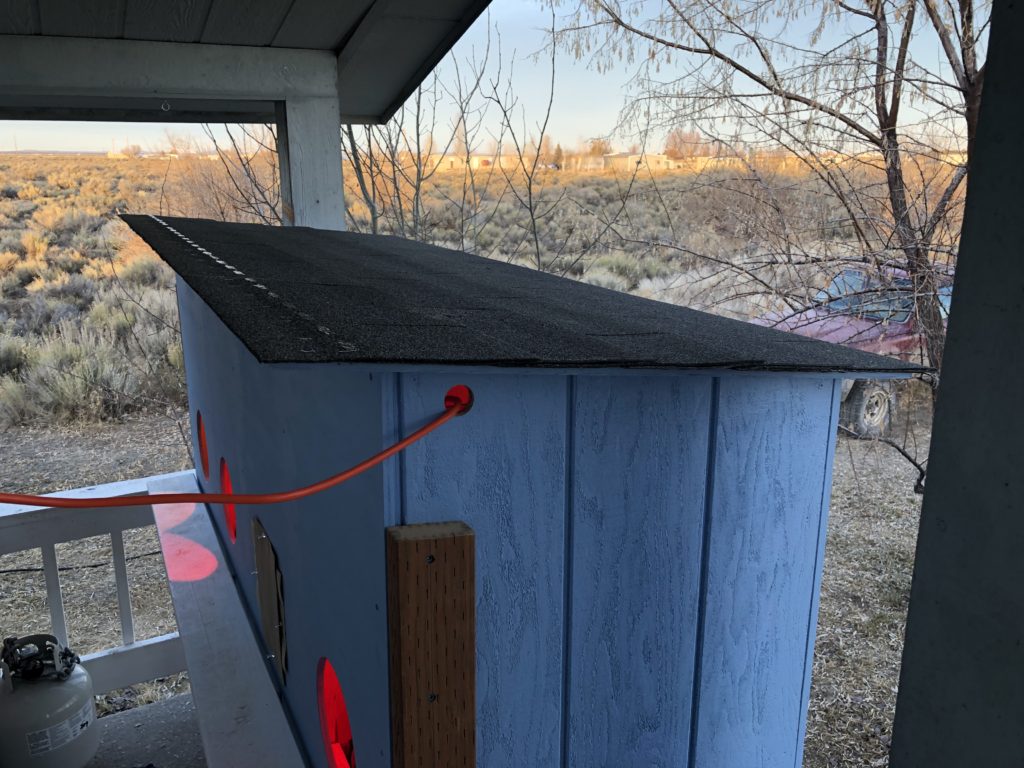
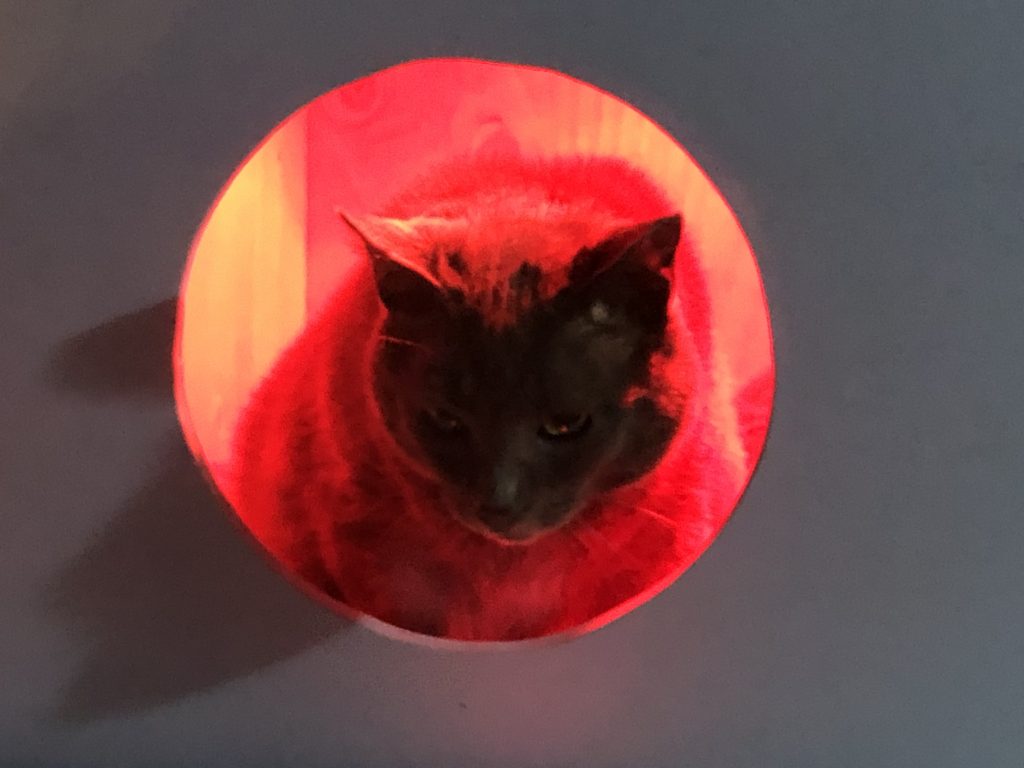
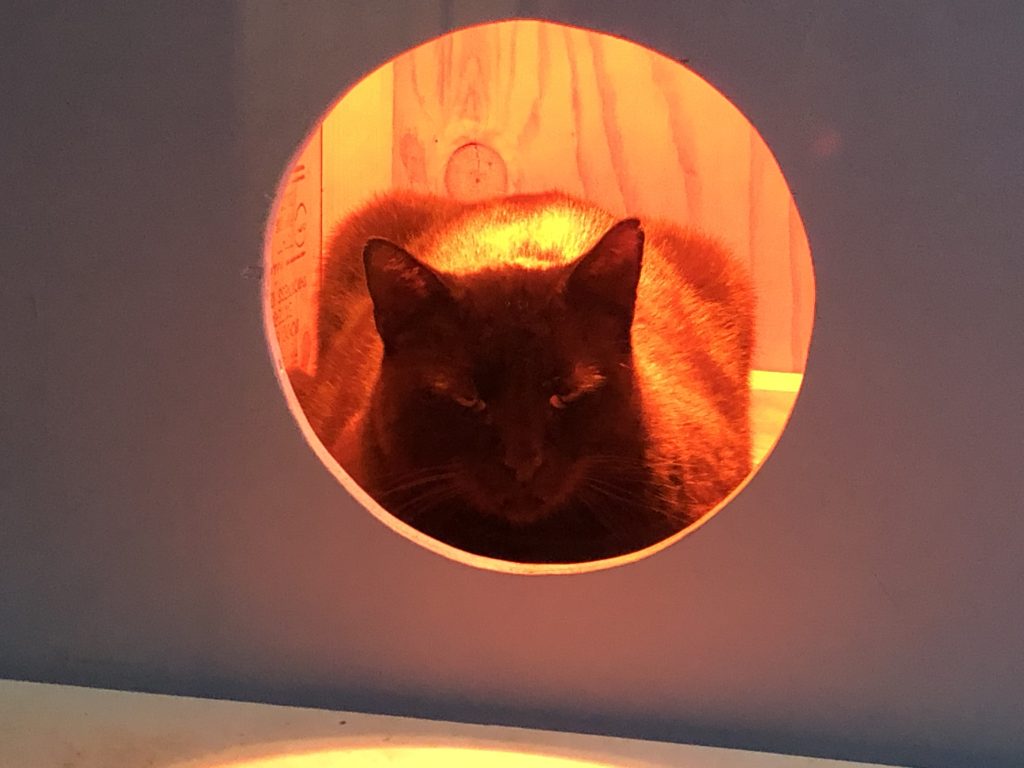
Framed up with three sides on and shows the double insulated floorFront angleFront panel with access holesFront of the shelterTop in place with the piano hinge sitting on topCompleted shelter on the front porch with the heat lamps onTop of the shetler with finished roofThe cats knew just what the shelter is forDorian Gray picked out his compartmentHandsome Jack ready to sleep after dinner in the warmth
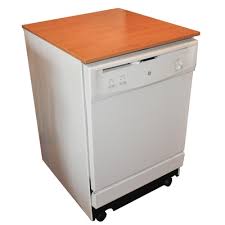
So, I found brand new builder special dishwashers for sale in La Pine for only $50 each to convert into a cat box washer. However, before purchasing one I gave the whole problem more thought and decided that the cat boxes I have, I hate them. The cat boxes I have are messy because of the way they are molded and constructed. The clasps that hold the top to the bottom do not hold unless the cat box is empty which has resulted in spilling the contents several times, when the cats pee up the side of the box the urine runs down the seam then when you pull the top off to clean the box urine drips onto the floor, and even though they are the extra large boxes, they are too small for my big cats. Besides that they are hard to clean. So, why should I go through the trouble of converting a dishwasher to clean the cat boxes I hate.
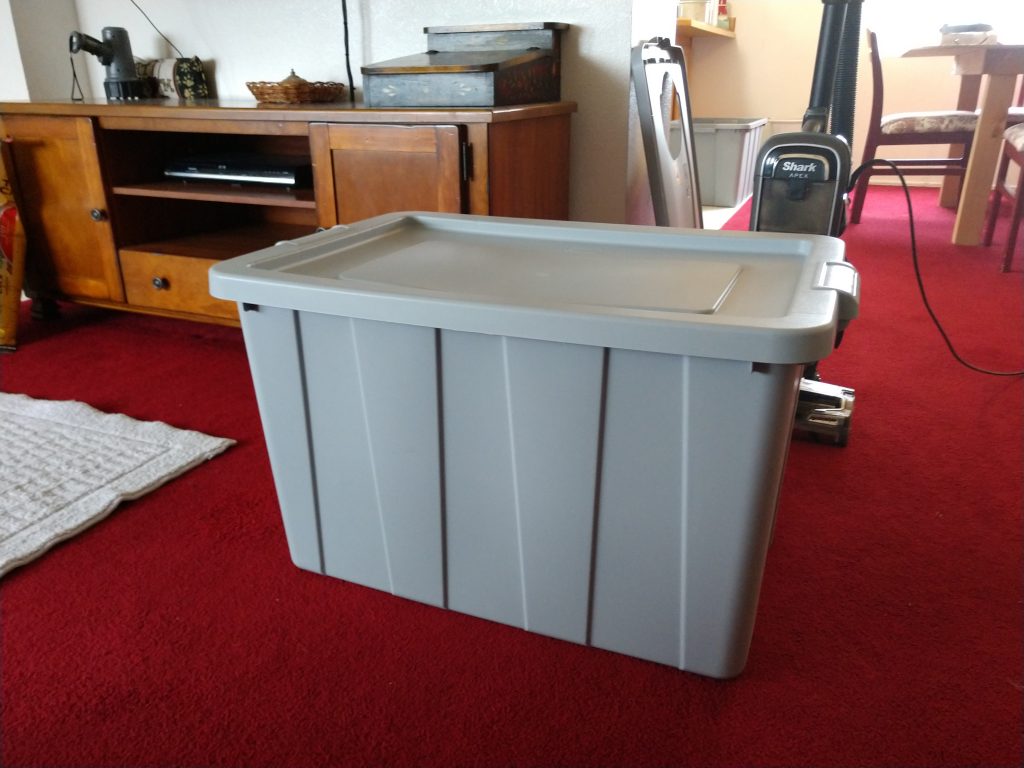
After searching through the many pet websites and seeing what is available for cat boxes and also looking at what others have done I decided to create my own cat boxes. I purchased several storage tubs, 30 gallon size, which I thought may be too big for my purposes but I had my big cats in mind when deciding which size to get. Now that they are done and in use I think that they are just the right size for my big cats and multiple cat use. Check out the images of the project.
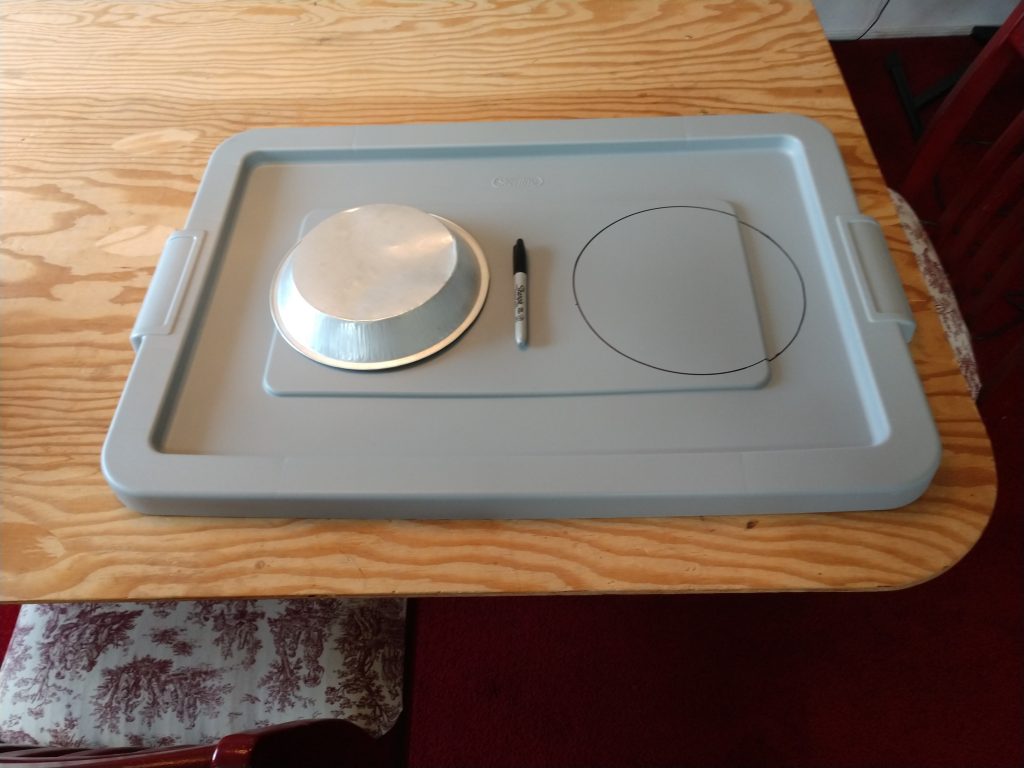
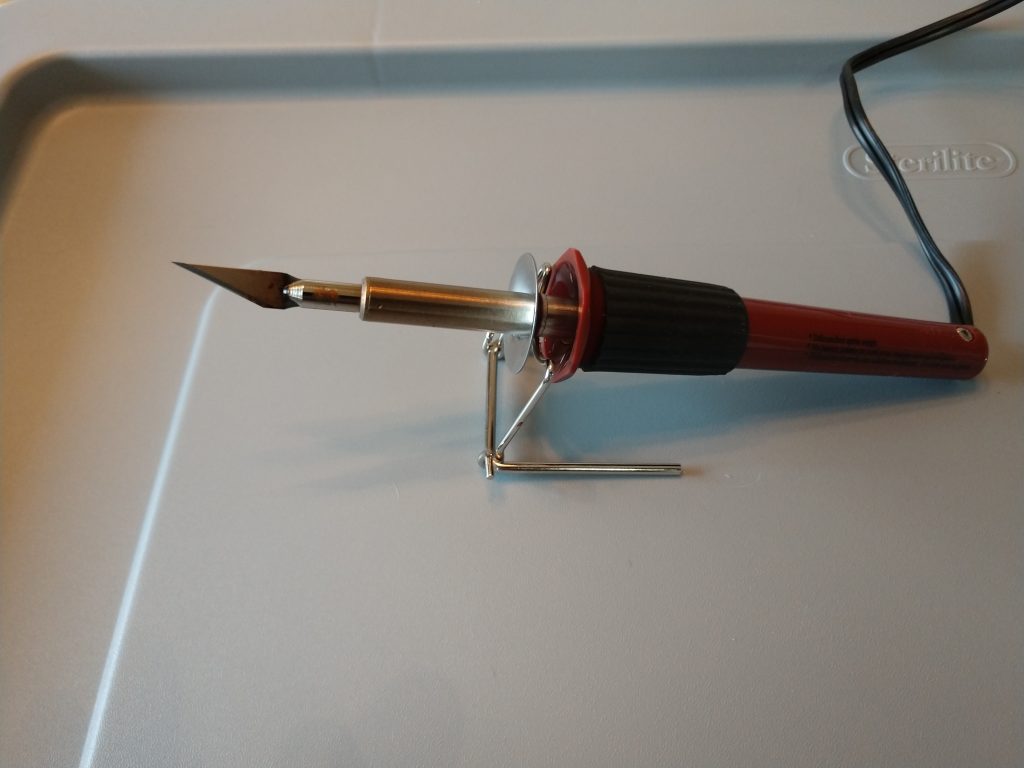
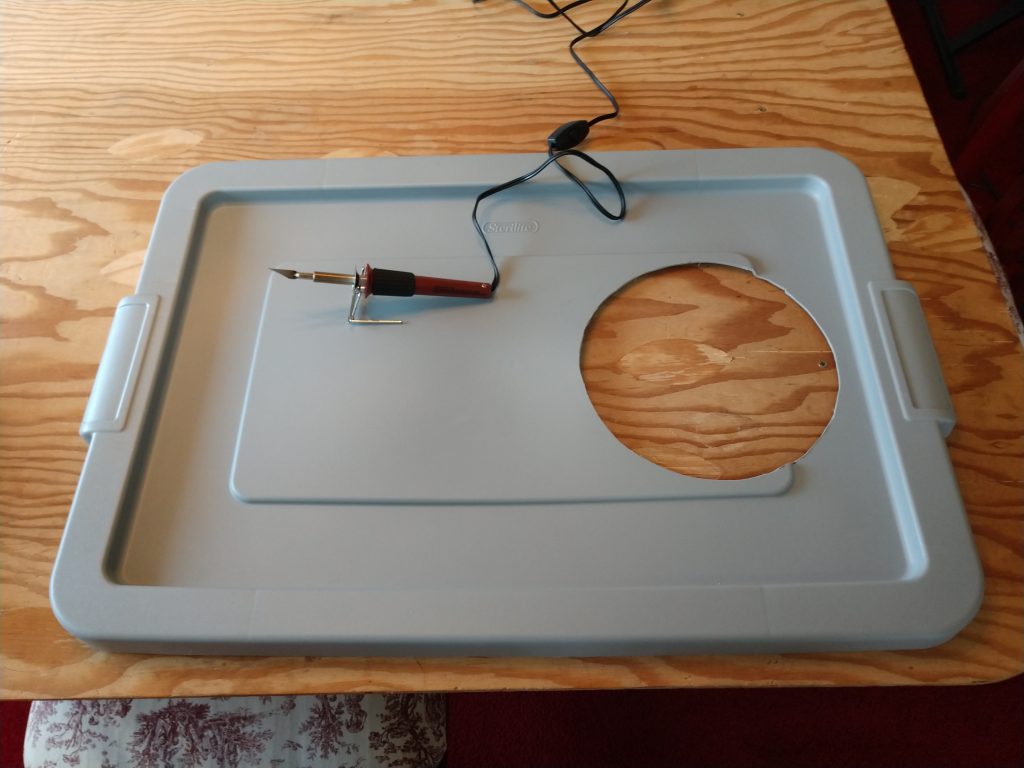
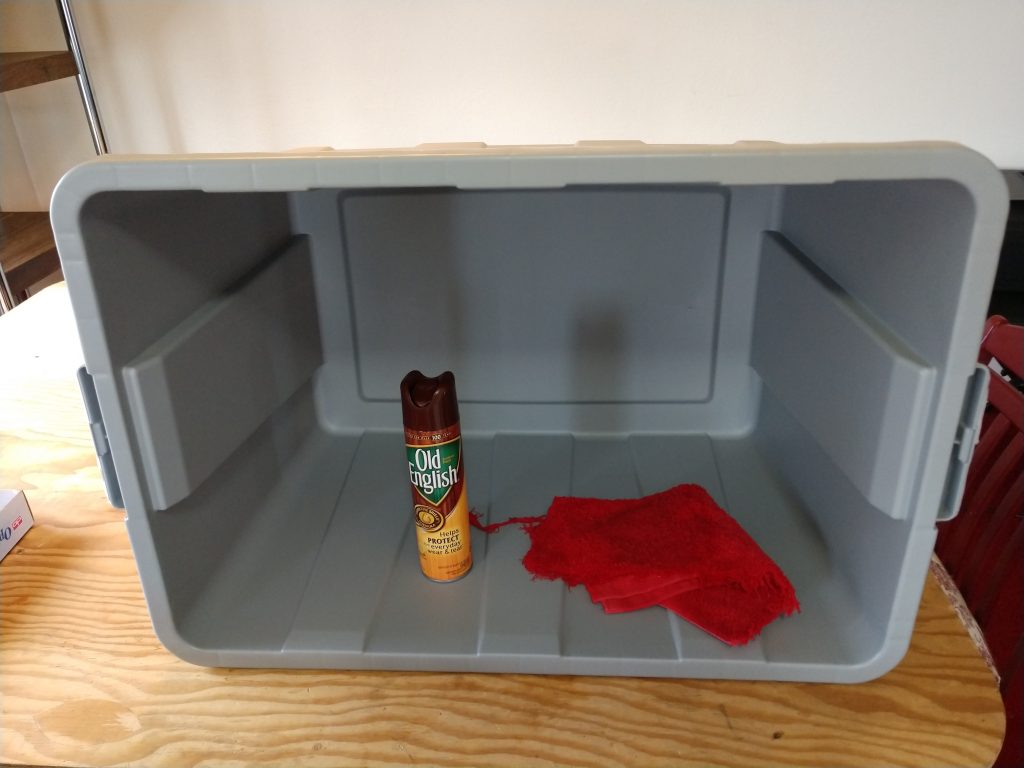
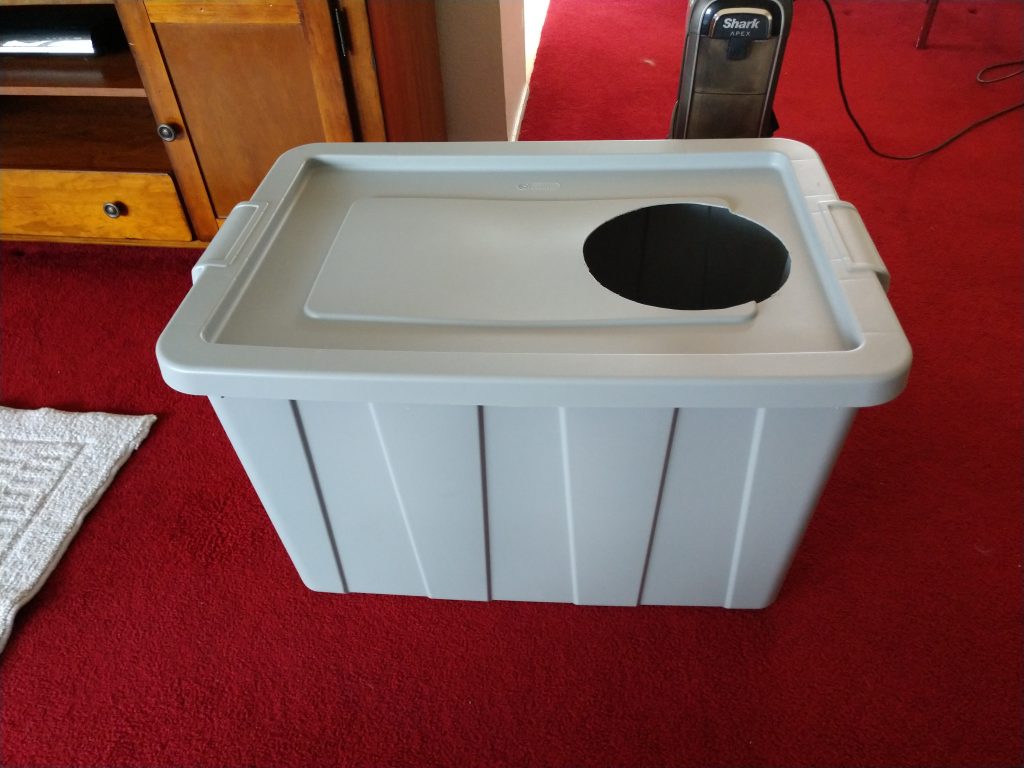
Started with these 30 gallon tubs I purchased online from Smile.Amazon.com which I got for $15 each.I measured the existing cat box opening and they measured approximately 8.25 inches which I thought was a bit small so decided on 9 inch holes. I looked at 10 inch holes but decided that was too large and I can always make them bigger if I need to. After measuring everything round in my house, I discovered this pie tin in the deepest recesses of my pots and pans cupboard. It measured exactly 9 inches. Using a Sharpie, I marked the holes at one end thinking that would be the end against the wall forcing the cats to walk across the top dropping most of the litter that sticks to their feet on the top of the tub.This tool is the ‘Cats Pajamas’ when it comes to cutting this kind of plastic. Knives don’t work very well, scissors couldn’t cut the thickness. Although I knew I had a wood burning kit, I did not know that it had an Exacto knife attachment in the kit and was quite glad that I had it after the first use. Highly suggest this one tool if you are cutting plastic yourself.Using the heated Exacto knife made the cutting of the holes quick and easy. It takes a bit of pressure to drag the knife through the plastic but I was able to control it precisely like a pen or pencil and stay within the lines, something I could never do when I was a kid, or teenager, or adult…Before I fill a new or clean cat box with litter, I always wipe down the inside with furniture polish and then let it dry/air out. The silicone wax creates a non-stick coating that works quite well and can extend the length of time before having to clean the box again.The finished product, simple in design and functionality. So far it seems to me that the cats prefer the top load boxes as they started using them right away and the old cat boxes seem to be really empty by normal standards. The amount of cat litter on the floor has decreased at least 90% so far. I am still keeping tabs on that but is a real blessing for me. My special needs kitty, Callie, took 3 days for her to figure out the new cat boxes but I think she prefers these new boxes now also.
It has been decided by the members of the board, I mean me, that we have too many cat boxes to spend the hours cleaning them whenever it becomes necessary which is more often than not. So, I am looking for a used dishwasher that I can modify to fit a cat box that I may run it through a cycle for cleaning and sterilization taking up much less of my time. Perhaps I can find a dishwasher that someone has removed during a remodel or a demolition. I thought I had one lined up but apparently someone else claimed it before I got there. I have checked through local papers but haven’t seen any for sale so I think I will look into ReStore supplies in La Pine or Bend and see if they may have a used dishwasher. I have too many cat boxes now and really could use a couple more so if I can automate the cleaning process, I can handle a few more. If you happen to have a used dishwasher or know where one is please let me know.
Welcome family, friends, good people, animal lovers, and any aliens that might happen by. Welcome to the new website for my cat ranch, The Barfing Cat Ranch. I am sure you can figure out where I may have engendered the idea from for the name. I hope you like the website and enjoy seeing all the cats that are here. I want to be perfectly clear and upfront about my purpose and presence here. I am here to ask for financial assistance to get a sanctuary for these cats built. I am envisioning a sanctuary that is a building large enough, with either a partly built in or with an attached greenhouse for an indoor winter garden, and a caged outdoor open area for the cats to roam. Such a project is beyond my means and the need is urgent. There are enough resources available so it can be constructed, ‘On the Cheap’, but is still out of my range. Thus is my need, the cats need, for some financial help.